Crafting

Wilcom Hatch’s Auto-Digitizer

I definitely want to learn to digitize my own files for embroidery. The prohibitive cost of the software ($1000+) means I probably won’t be doing so any time soon, but Wilcom has a new package called Hatch which I downloaded a 30 day trial of. It’s a full featured digitizer with a (theoretically) easier to use interface. So I’m playing around with it and today I gave the auto-digitizer a spin.

I used this adorable octopus, which Chris designed for hand embroidery on a dress I made a few years ago.

octopus


I ran it through the auto-digitizer, setting a blue fill for the body and white fill for the eyeballs. Everything else is satin stitch. I tweaked the fill angles a bit and reordered some of the objects  for easier to cut jump stitches, but otherwise left it as-is. Wilcom thinks it will look very nice! There are a little over 14,000 stitches. So it will take about 40 minutes to stitch out, not counting the time it takes me to rethread the machine between colors.
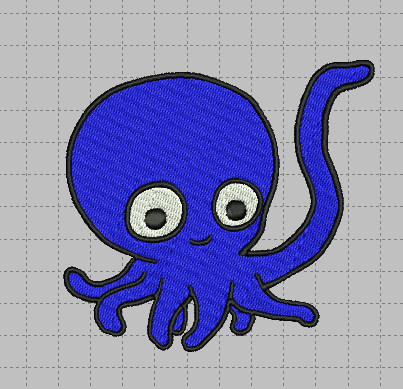
The stitch preview generated by Hatch

I stitched it out on some “linen look” cotton fabric using medium weight tear away stabilizer.

What a happy octopus!

Aside from the jump stitch I couldn’t quite get at with my scissors, there’s noticible pulling at the top of the head and the bottom of the legs.
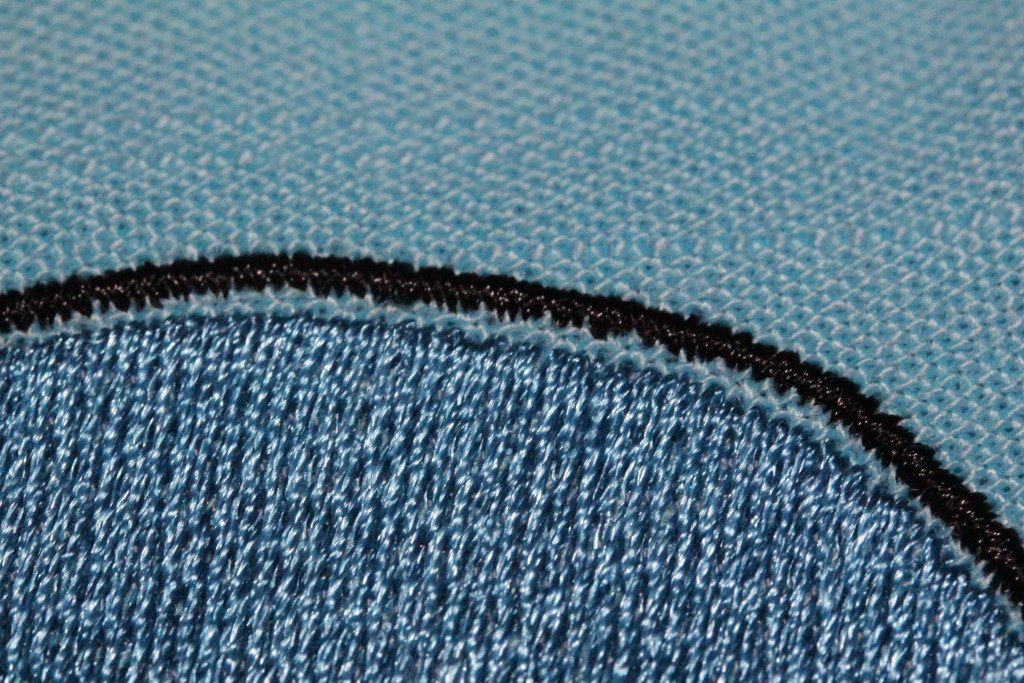
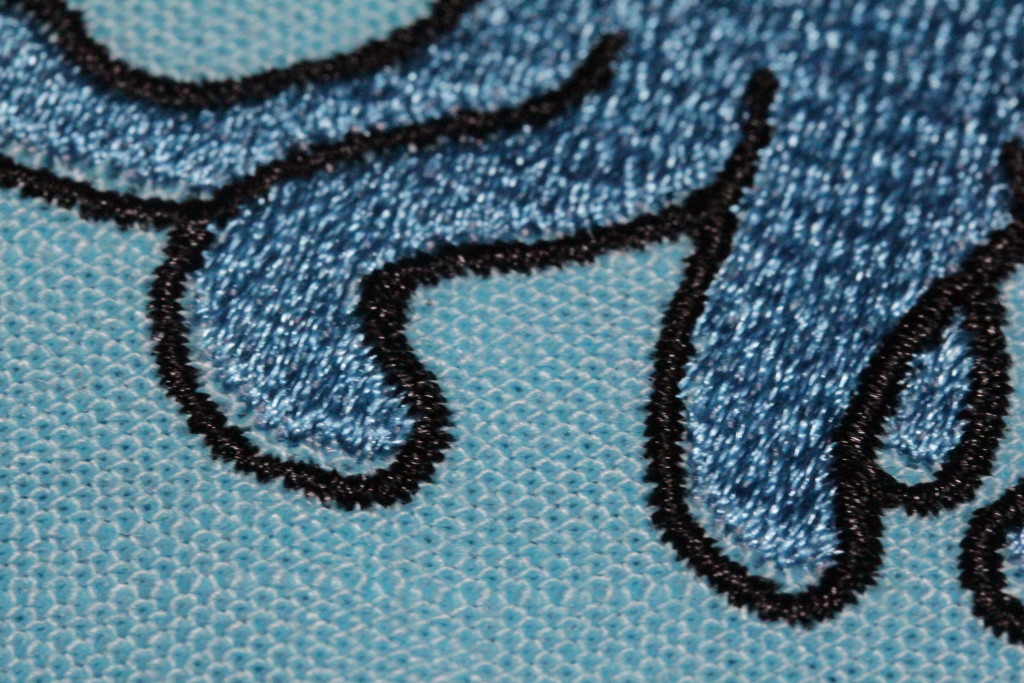
Top of the head
Top of the head
Bottom of the tentacles

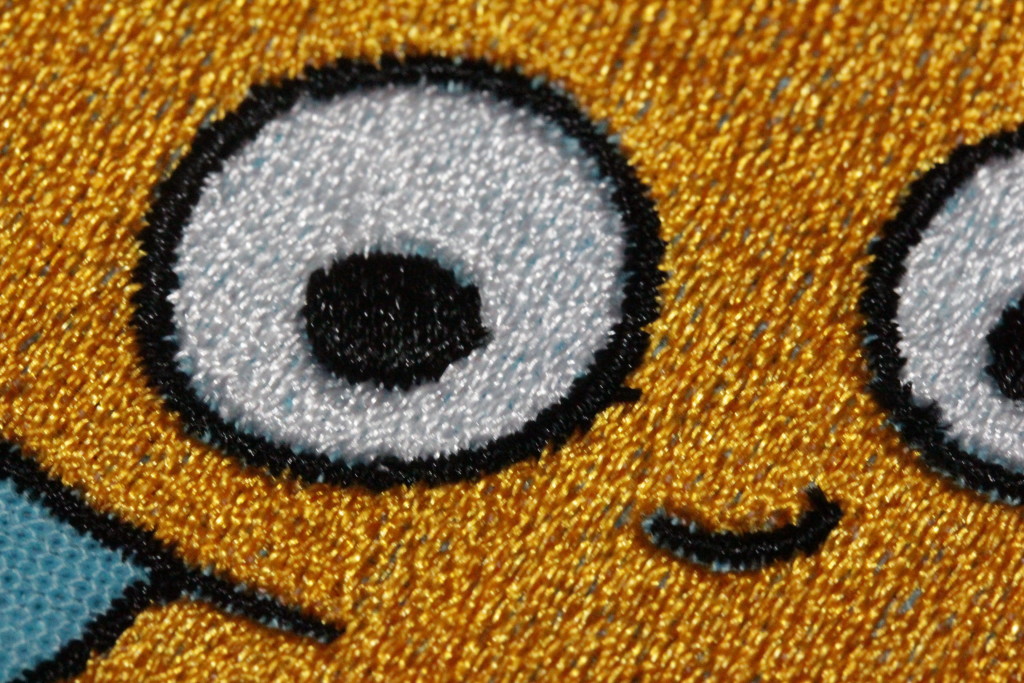
There’s also some around the eyes. This is not entirely unexpected, the stitches tend to pull in, leaving a gap and the vertical edges of the stitches.

I measured the gap at the top with my calipers (0.045 inches) at tried to compensate accordingly by reshaping the objects in Hatch. Then I eyeballed the other gaps and adjusted them too. I stitched out the pattern again, this time with contrasting thread so it’s easier to see how things line up.
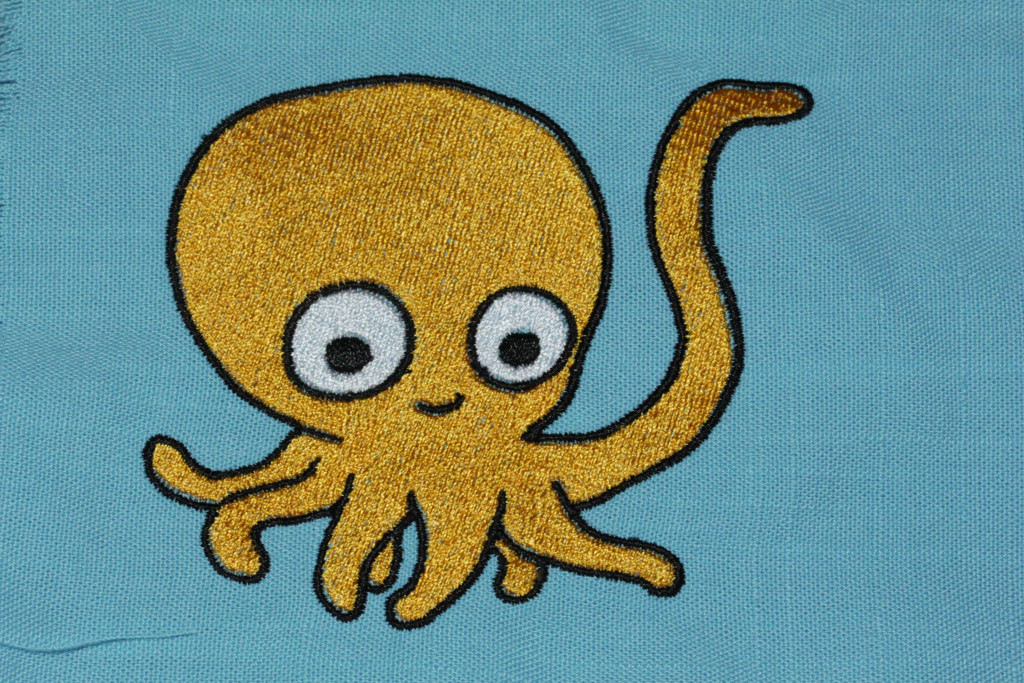
Still cute!
Still cute!

This one came out better, but I was too conservative with my compensation. There are still visible gaps between the outline and the fill.
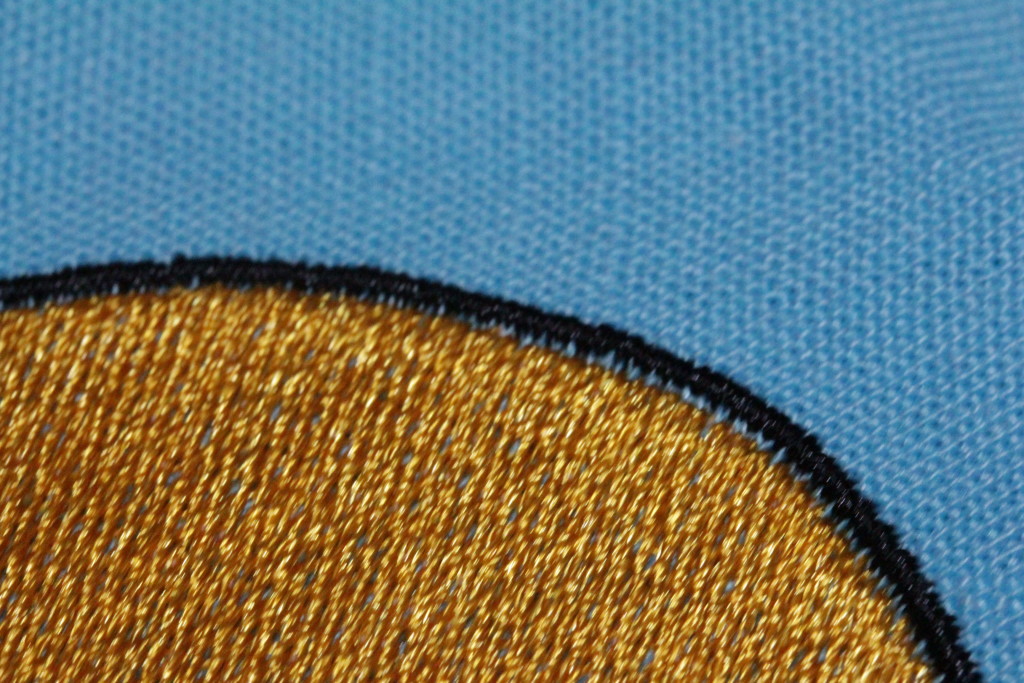
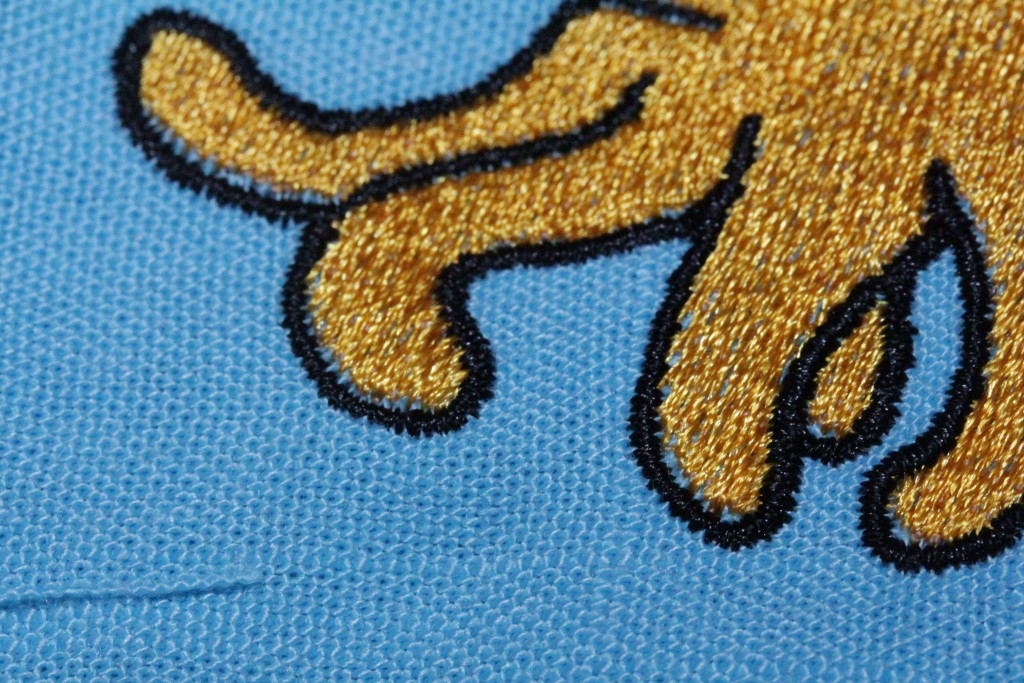
IMG_2816
Top of the head
IMG_2817
Tentacles
Eyes and Mouth
Eyes and Mouth

I think with the 3rd round of revisions I’ll get it right, but this has definitely confirmed my skepticism of folks selling purely auto-stitched designs without a sample sew-out to show. A lot of the designs on Etsy have just the computer generated preview, and I suspect many of them have never been tested in the real world. I’m going to play with Hatch a little more to get a feel for manual digitizing, but for complicated or important designs I’m going to continue sending them out to professional human digitizers.

Crafting

Things I have learned in 4 days of owning a Brother SE400

2016-03-12 12.21.16

Last week I ordered a $300 embroidery machine off of Amazon. Fully acknowledging that most embroidery machines are $1000+, and that a good sewing machine starts around $300, I set my expectations accordingly. I knew it wasn’t going to be a great machine, but I also didn’t want to spend much more until I’m sure that machine embroidery is for me. Here’s what I’ve learned:

Cheap machines are a tensioning nightmare

Actually I already knew that, but the Brother SE400 reminded me how true it is. The tension on the Brother SE400 is fiddly. It’ll start skipping stitches, then I’ll rethread it, and it will sew just fine. Or it dislikes the bobbin for some reason. I can get it working, but every time I rethread it (more on that in a minute) I have to cross my fingers that it’s happy. Maybe I’m spoiled by my all-mechanical Janome, but I’m not to keen on the mysticism required to get the thing tensioned properly.

I really want a multi-needle machine

With a single needle machine every color change means rethreading. And on the SE400 every rethreading is an opportunity to make it angry. Plus occasionally I just screw up. I find myself loath to do designs with more than 5 or so colors because I don’t want to sit there changing them out every 5 minutes. If I was planning on doing any sort of production work a multi-needle machine would be a must.

The 4×4 work area is too small

The advice given in almost every “how to pick a machine” article is “get the biggest work area you can afford,” and it’s true. Even if you only want to embroider small stuff. Why? Because the 4×4 work area means you have to get your hoop placement just right, and on many items that’s a real big pain in the arse. It also means re-hooping if you want to place multiple designs on a garment.

The touchscreen LCD kind of sucks

When you’re stitching out a design it can show you the color info (handy if you’ve got a 10+ color design) or the stitch count, but not both, and switching between the two requires multiple button presses. Which wouldn’t be so bad except the touch registration on my machine is slightly off. This means that when I go to step back one stitch I often end up stepping forward an entire color (those two buttons are adjacent). I’ve learned always to write down the stitch count before touching anything.

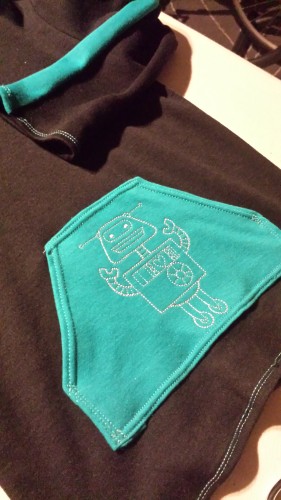
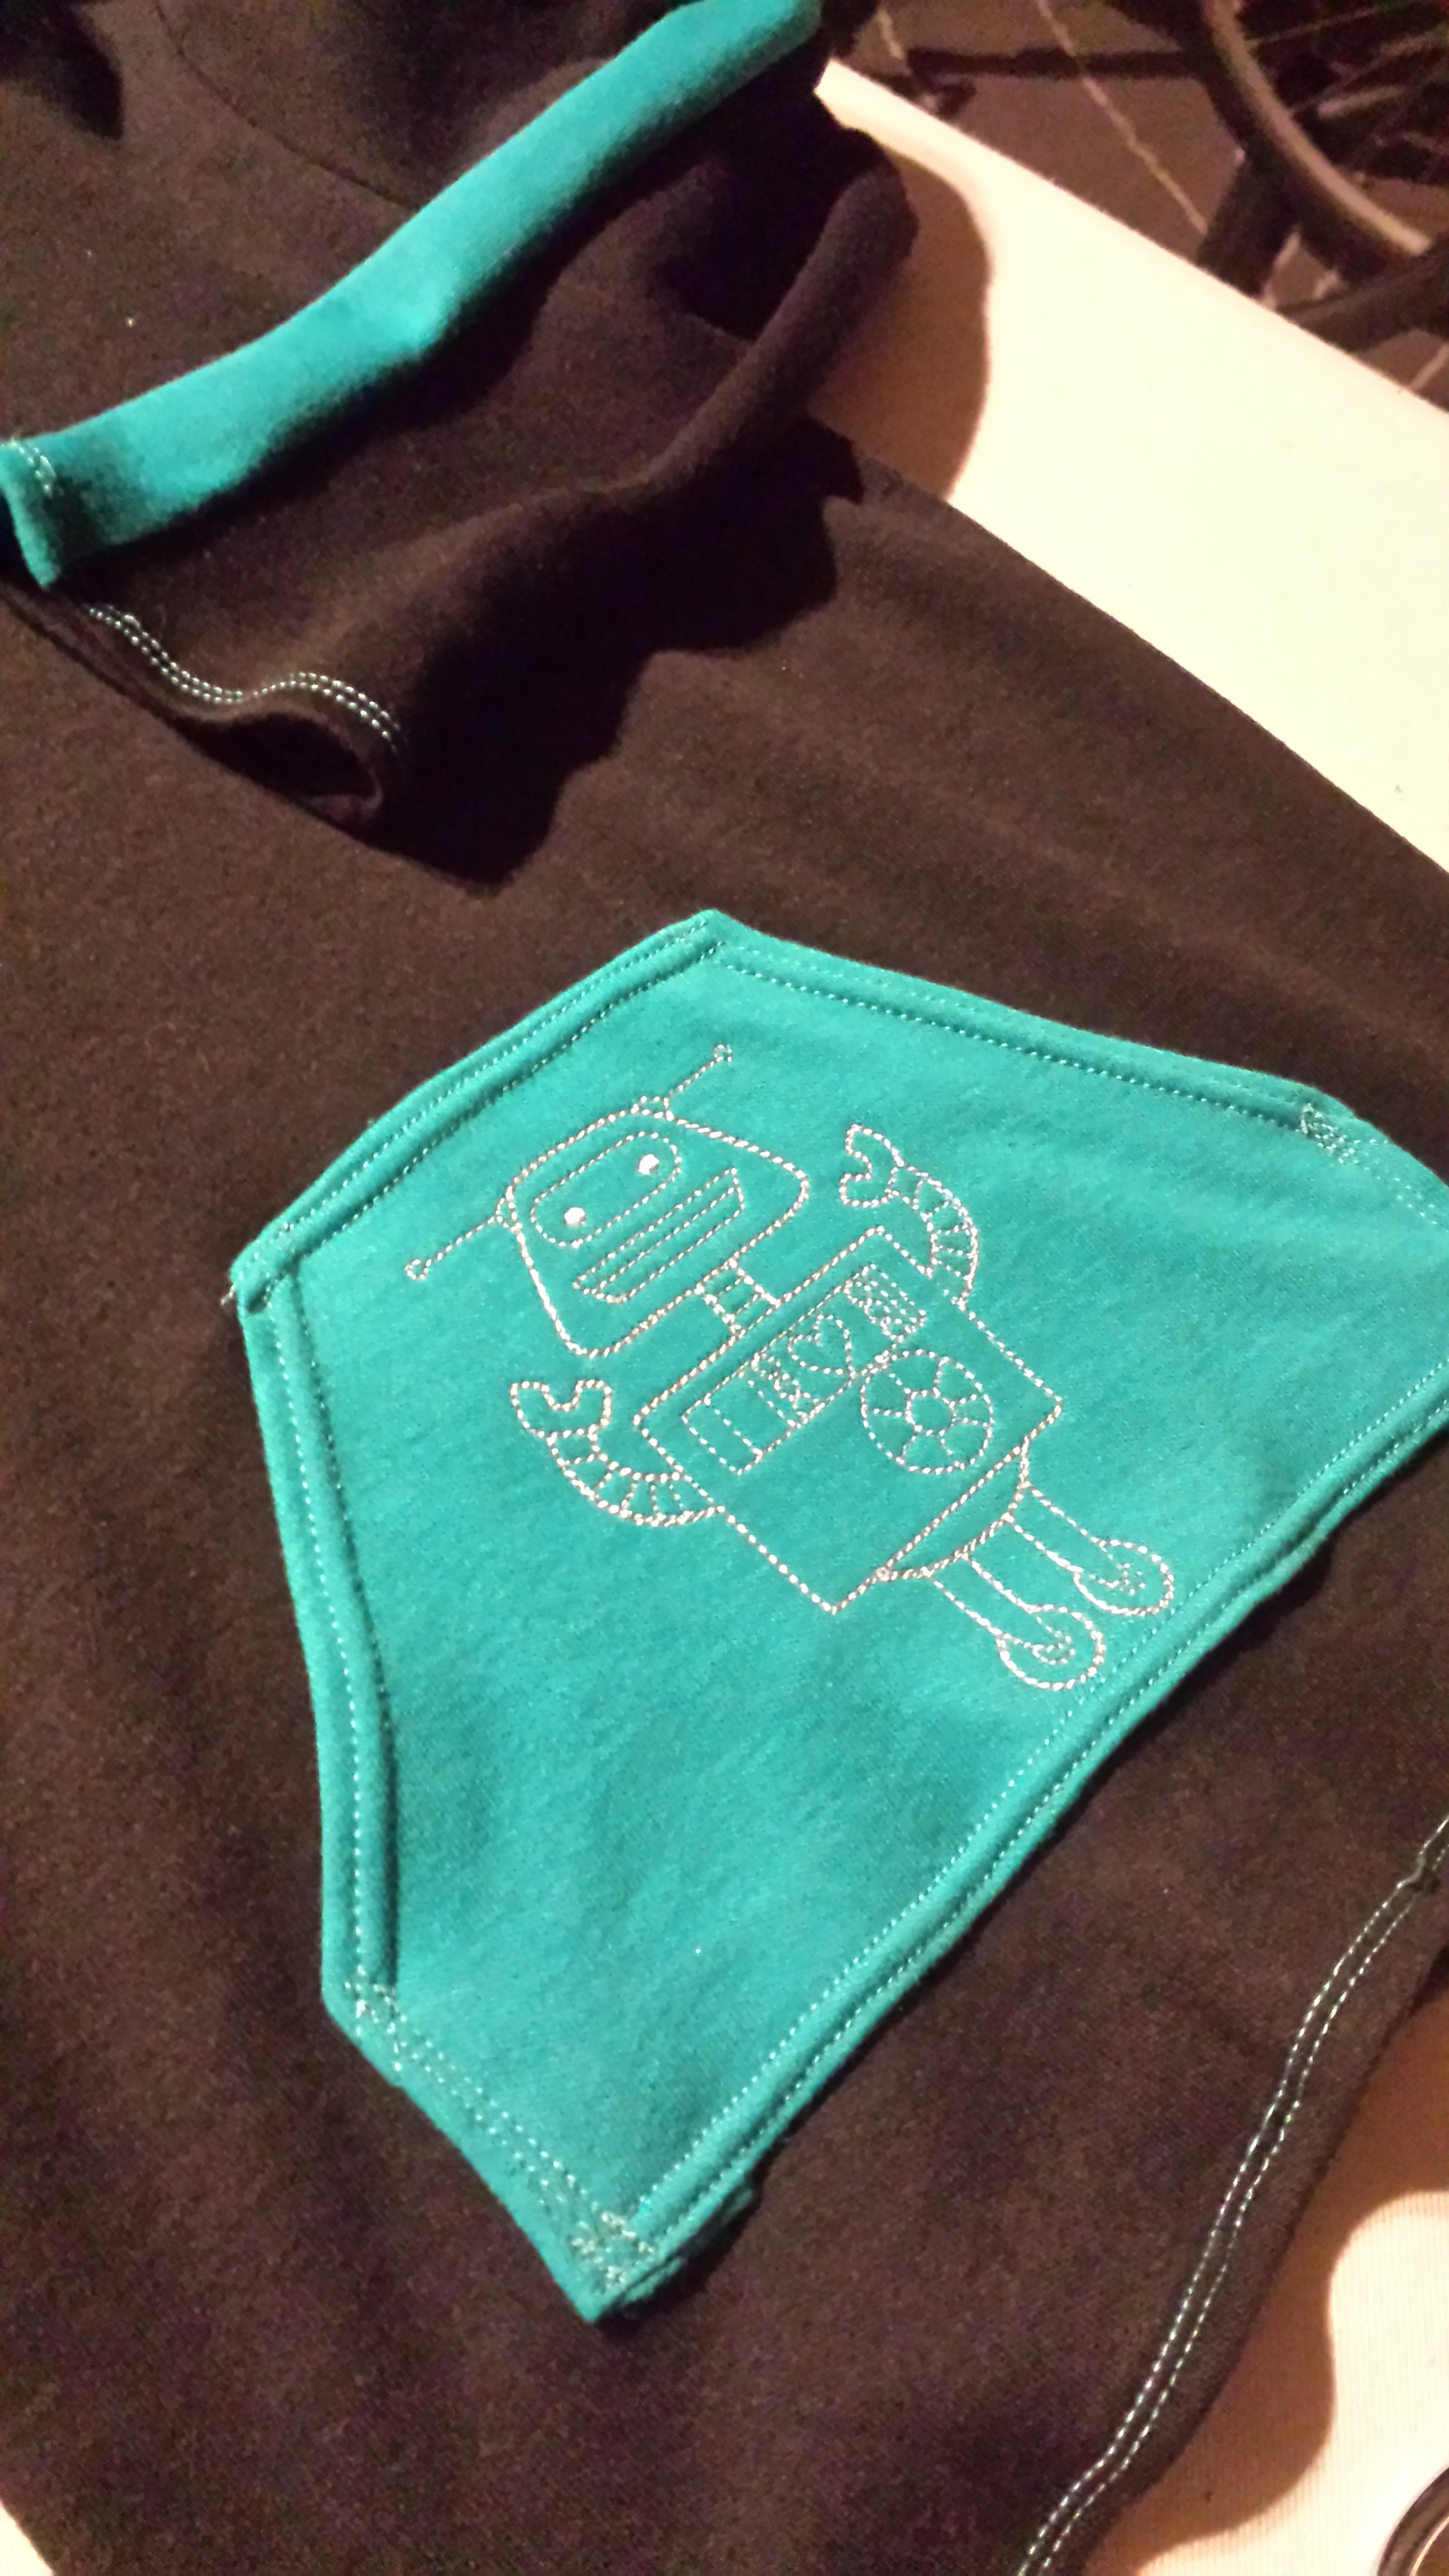
A hoodie I made for my nephew

Getting your own designs into the machine is easy… if they’re digitized

To download new designs you just plug the machine into your computer’s USB port and it presents itself as an external drive to drag / drop PES or DST files onto. Great! Seriously, this could have been way more painful and I was glad it was so easy.

That said, it turns out that digitizing files (going from a bitmap or vector to stitches) is a hobby in and of itself. Digitizing software is expensive (hundreds or thousands of dollars), and learning to do it takes practice. There’s auto-digitizing software available, but I haven’t heard many positive things about the quality of stitch outs produced.  The conventional wisdom of the internet is to pay a professional to digitize your files if you don’t want to invest the time and money to do it yourself.

The good news is that pro digitization is cheap, generally $10-15 for a simple design. I found someone on Etsy who turned it around in a couple of days.

Despite its flaws, it’s still a fun machine

It won’t win any awards but it’s not a bad machine, and very fairly priced.

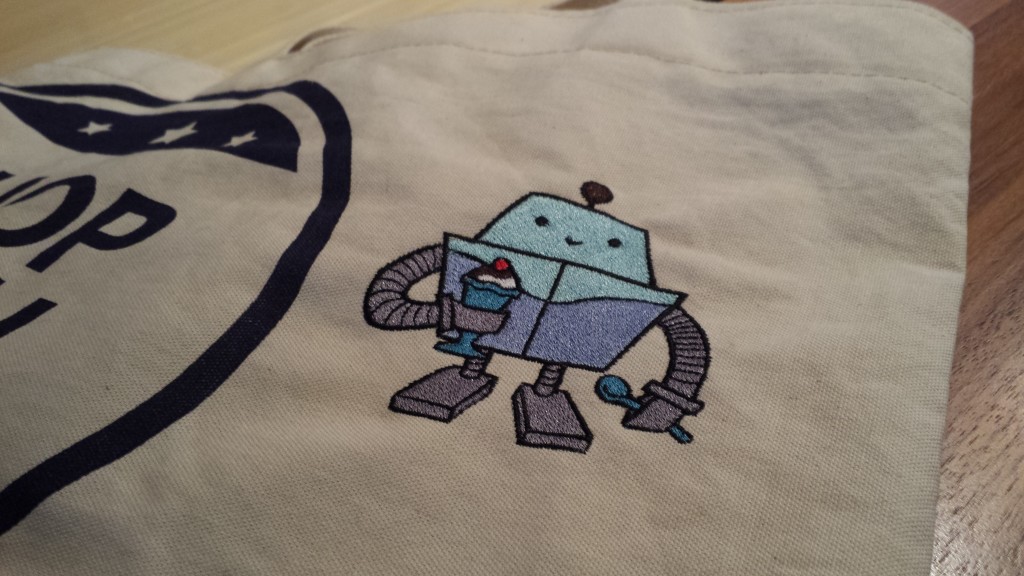
I made a hoodie for my nephew and the embroidery on it is completely adorable. I put my husband’s business logo on an old tote bag and he was stoked. And I’m learning a lot about the basics of machine embroidery. Which stabilizers to use with which fabrics, getting practice hooping things correctly, it’s all a learning process that will translate well to whatever machine I eventually upgrade to.


The use cases where I’d suggest buying a Brother SE400 are admittedly minimal. If you’re at all serious about embroidery, save up for something with a larger work area. While it does dual duty as a sewing machine, it’s not a particularly good one so if you primarily want a sewing machine I’d suggest putting the $300 towards a nice basic machine. I figure in 6 months when I have a really solid idea of what I want in a machine I’ll trade it in towards something fancier. Until then, expect to find it whirring in the background while I work.

Crafting

Stabilizer Tests on Muslin

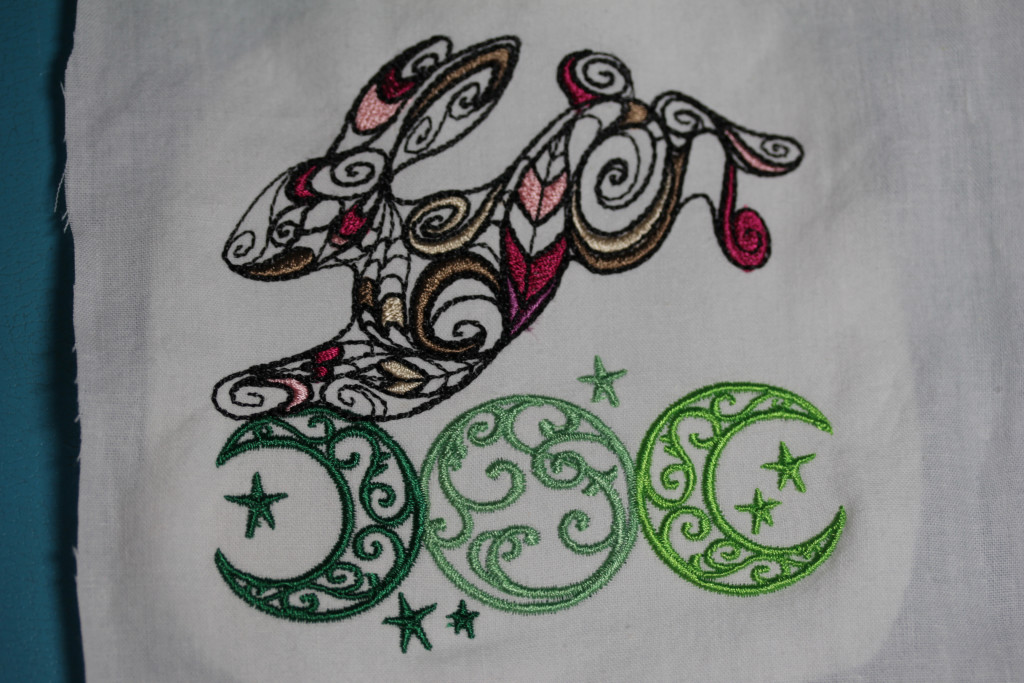
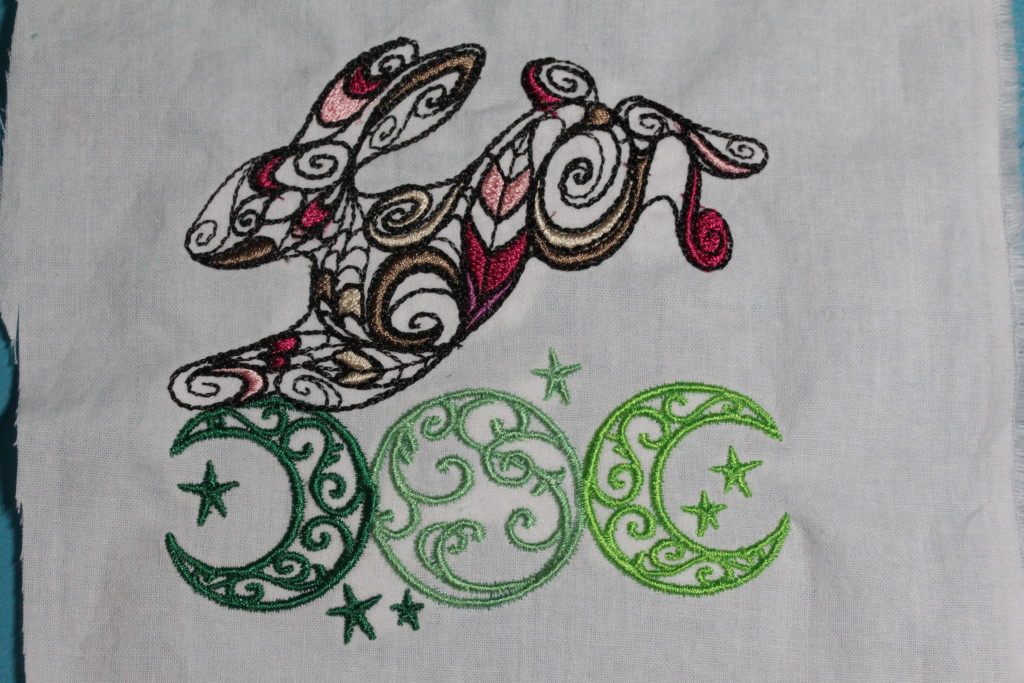
Did a few tests on my Brother SE400. Right now I have 3 different stabilizers: tear-away, cut-away, and wash-away. I ran some test designs using the tear away and cut away on muslin, without adhesive spray.

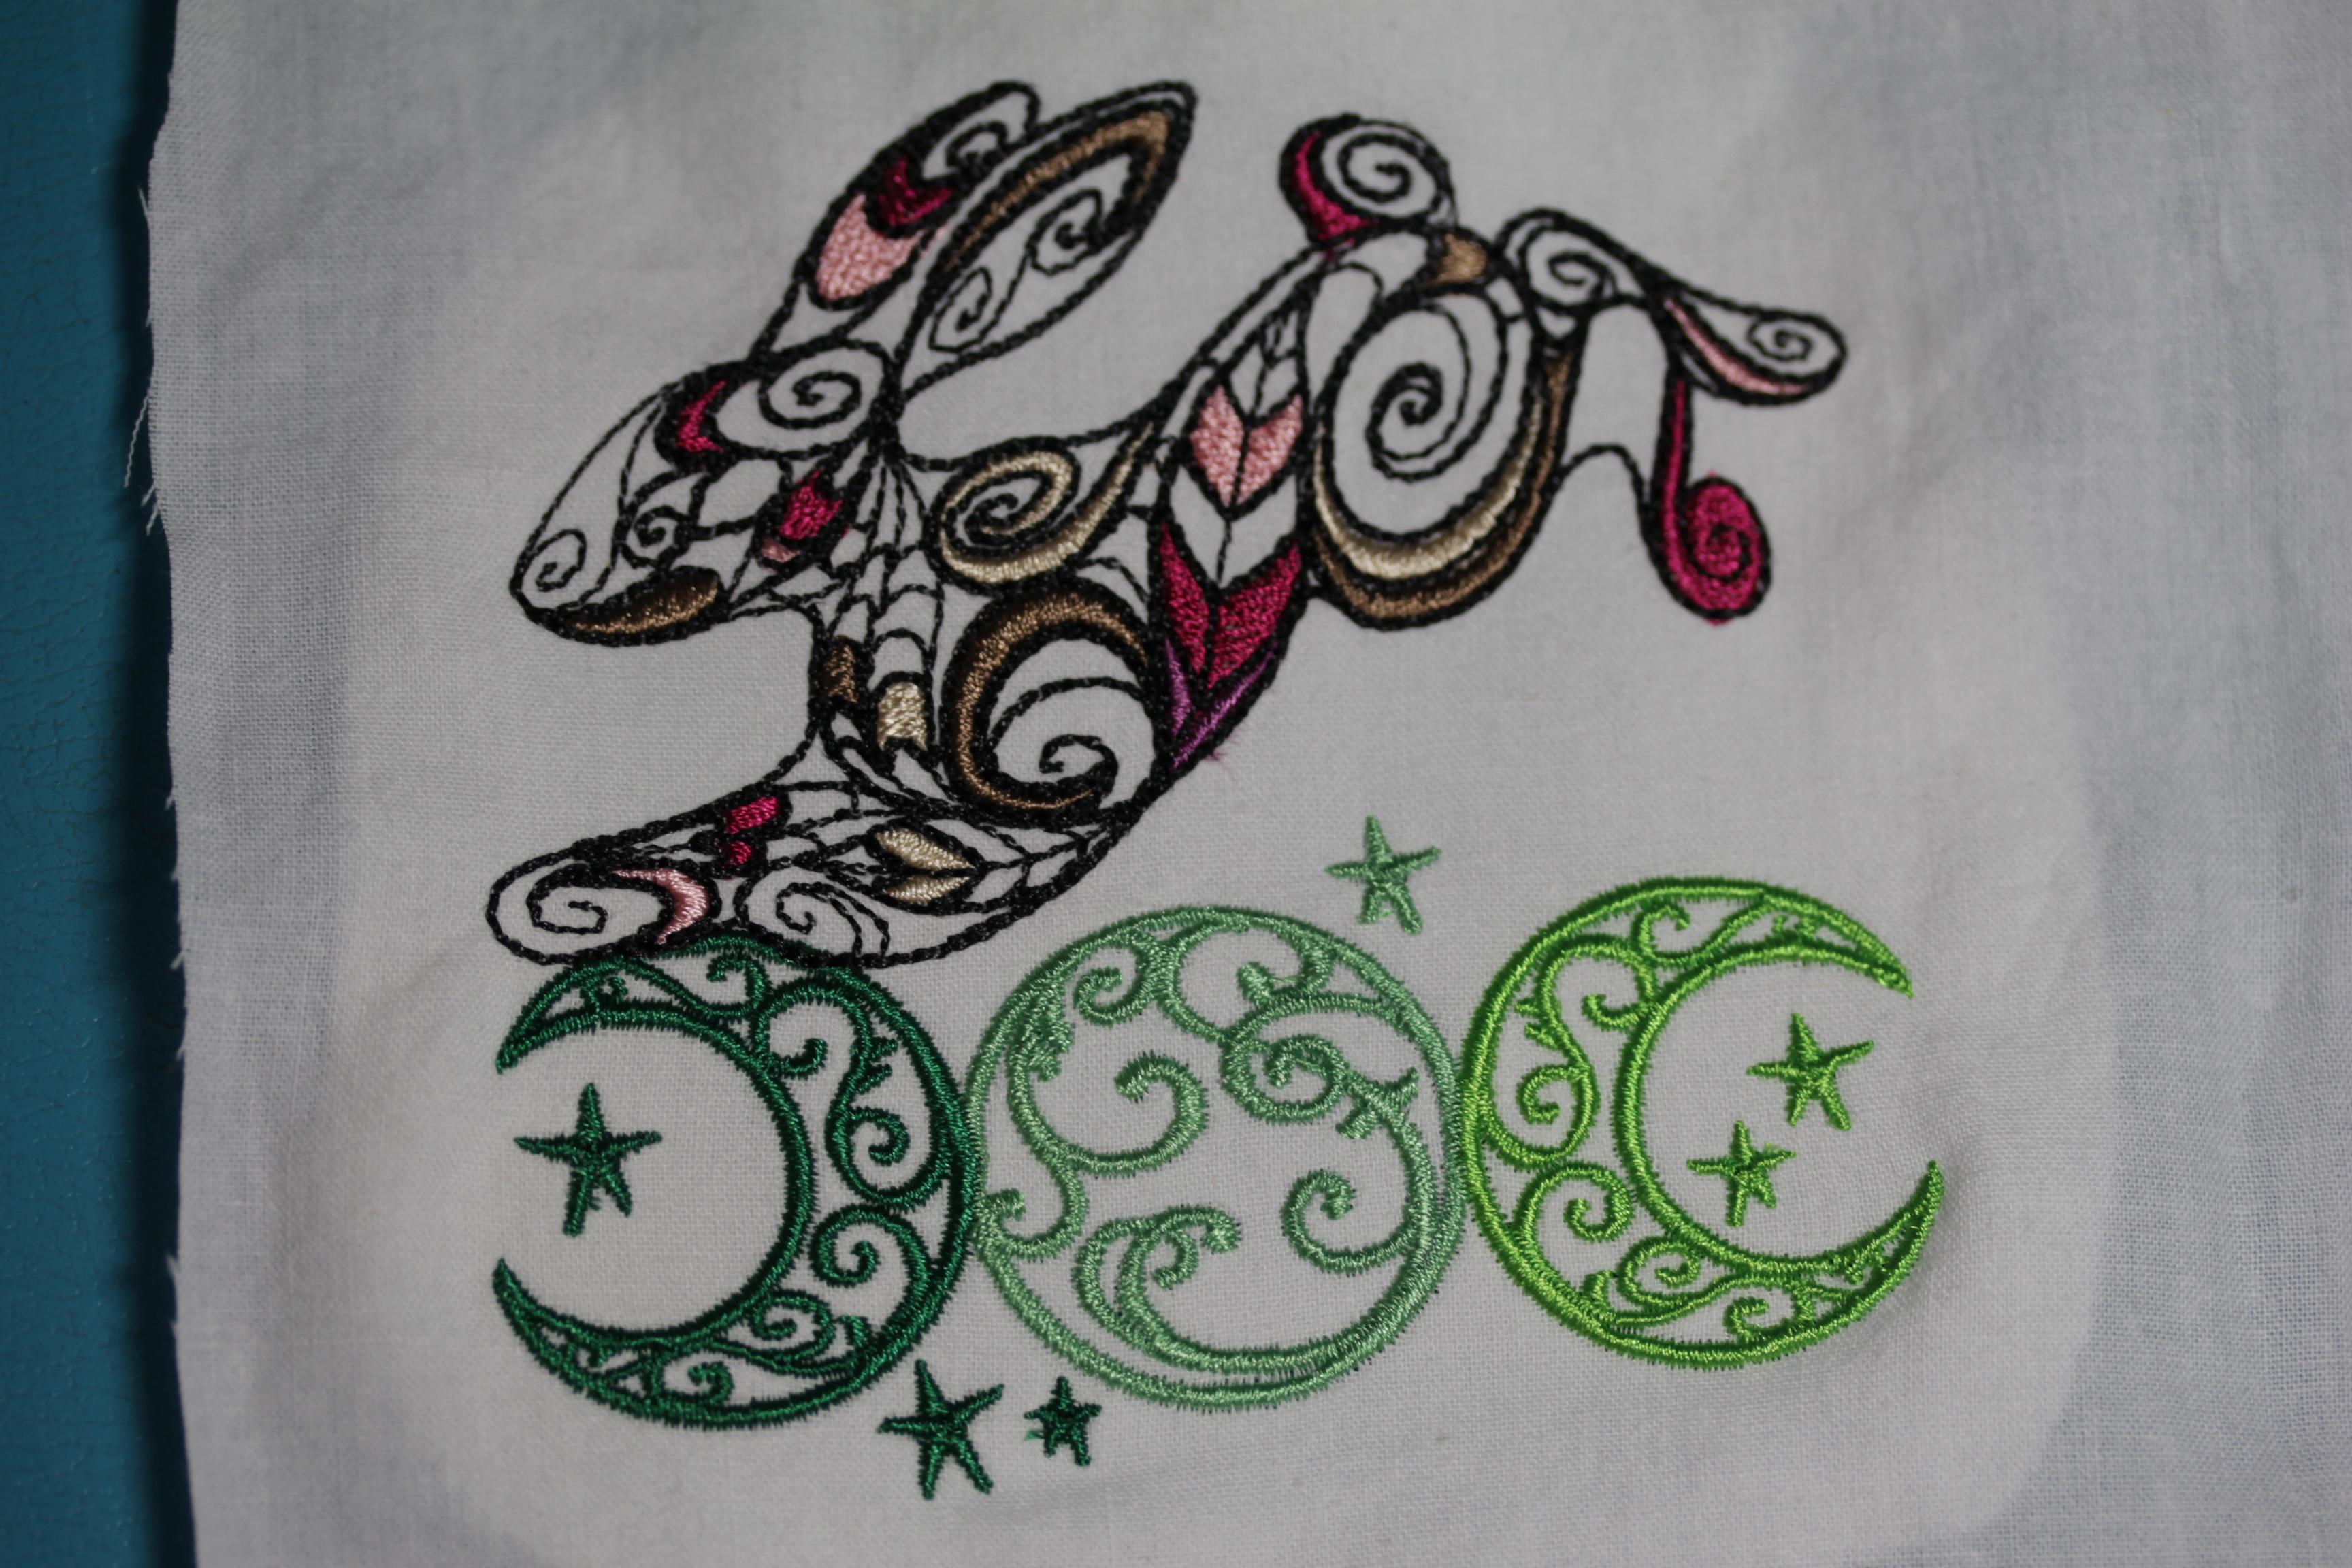
The designs I chose are from Urban Threads, and have a mixture of fill, satin, and straight stitches.

Sew out on heavy weight cutaway stabilizer
On tear-away stabilizer


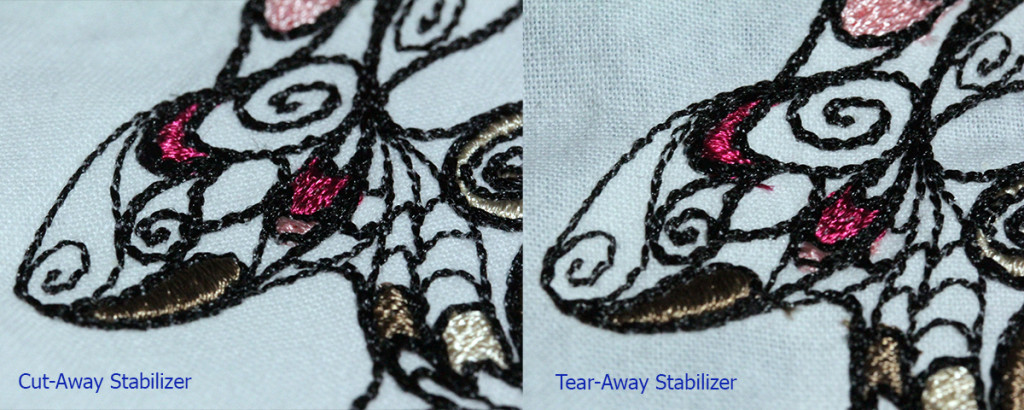
The differences between the two stitch outs aren’t huge, but the cut-away stabilizer is definitely a little cleaner.

Stabilizer-BunnyHead
Note the top of the bunny’s head, which is decidedly wobblier
The intersection of the two designs has a little more push out on the tearaway
The intersection of the two designs has a little more shifting on the tearaway

There’s considerably more shifting on the tearaway, and I’m not sure how much of that is my poor hooping. I find it really hard to get the fabric taut without distorting it.

The next set of tests I run will use adhesive to secure the fabric to the stabilizer. The downside of the adhesive is that it creates a gummy mess if you aren’t careful.